Tuesday, September 30, 2014

Crispy, Crunchy, Juicy Chicken Thighs...

I used to be fat-phobic, meaning I thought fat was going to make me fat, so I stayed away from dark meat and skin-on poultry....Come on ladies, I know I'm not alone in this way of thinking...

It took awhile, but I've changed my thinking...I now realize fat, more specifically saturated fats are critical to human health. They make up our cell membranes. They are resistant to oxidation, which keeps us younger longer. They are the preferred fuel for the human heart, liver, and kidneys. They raise HDL, the “good” cholesterol which is an amazing antioxidant that builds hormones and repairs arteries...Bottom line, don't be fat-phobic about good fats...Once you eat skin-on, bone-in chicken for dinner, you'll save the skinless, boneless stuff for lunchtime...use it to make my-go-to chicken salad... Just make sure it's cooked correctly so it's crispy, crunchy and juicy...Try this recipe, it's quick, easy and absolutely delish...

Ingredients
- Bone-In Chicken Thighs, organic and pasture raised (2-3 pieces per person)
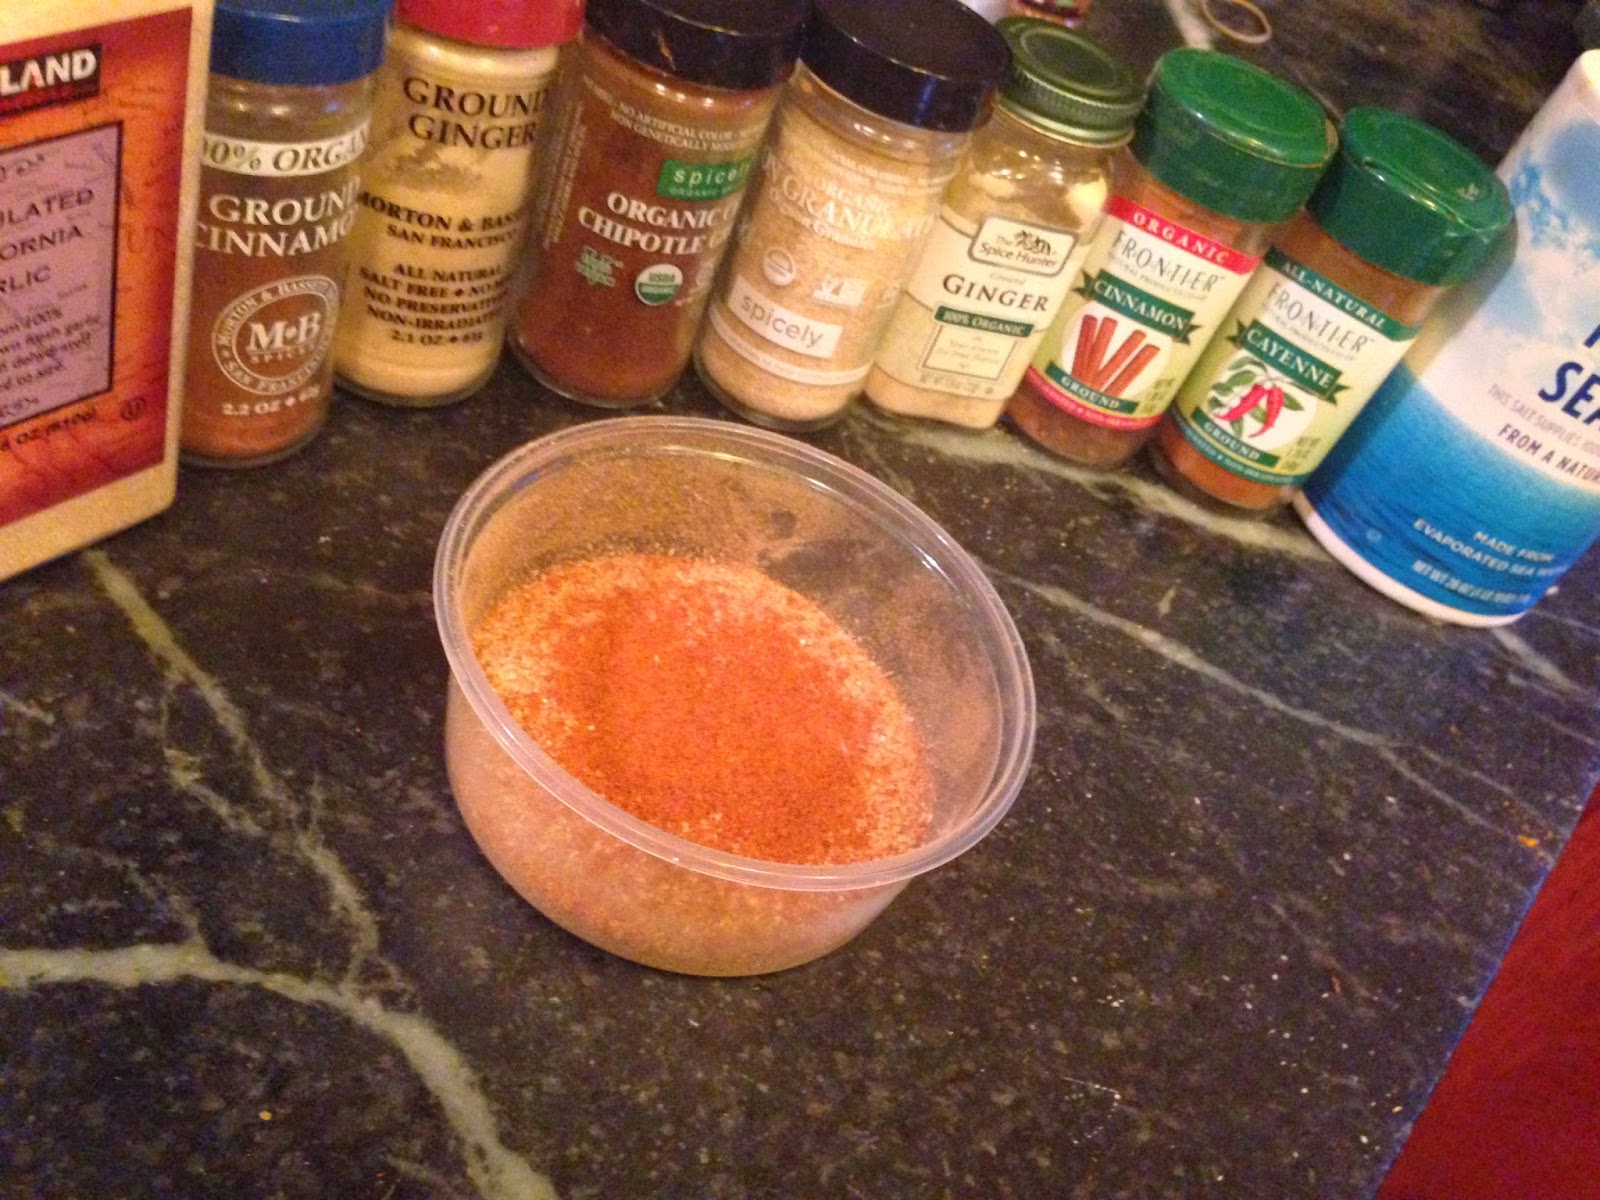
- Seasonings: Salt, pepper, garlic powder, chile powder, turmeric, onion powder
(Note: You can use whatever spices you like, but always taste it before you use it so you can adjust if you need be)
- 1 - 2 TBS Coconut Oil

Instructions
1. Preheat oven to 300 degrees

2. Place all seasonings in a bowl. I like to layer the spices in order of most used to least used, starting with the salt as being most used in this case.


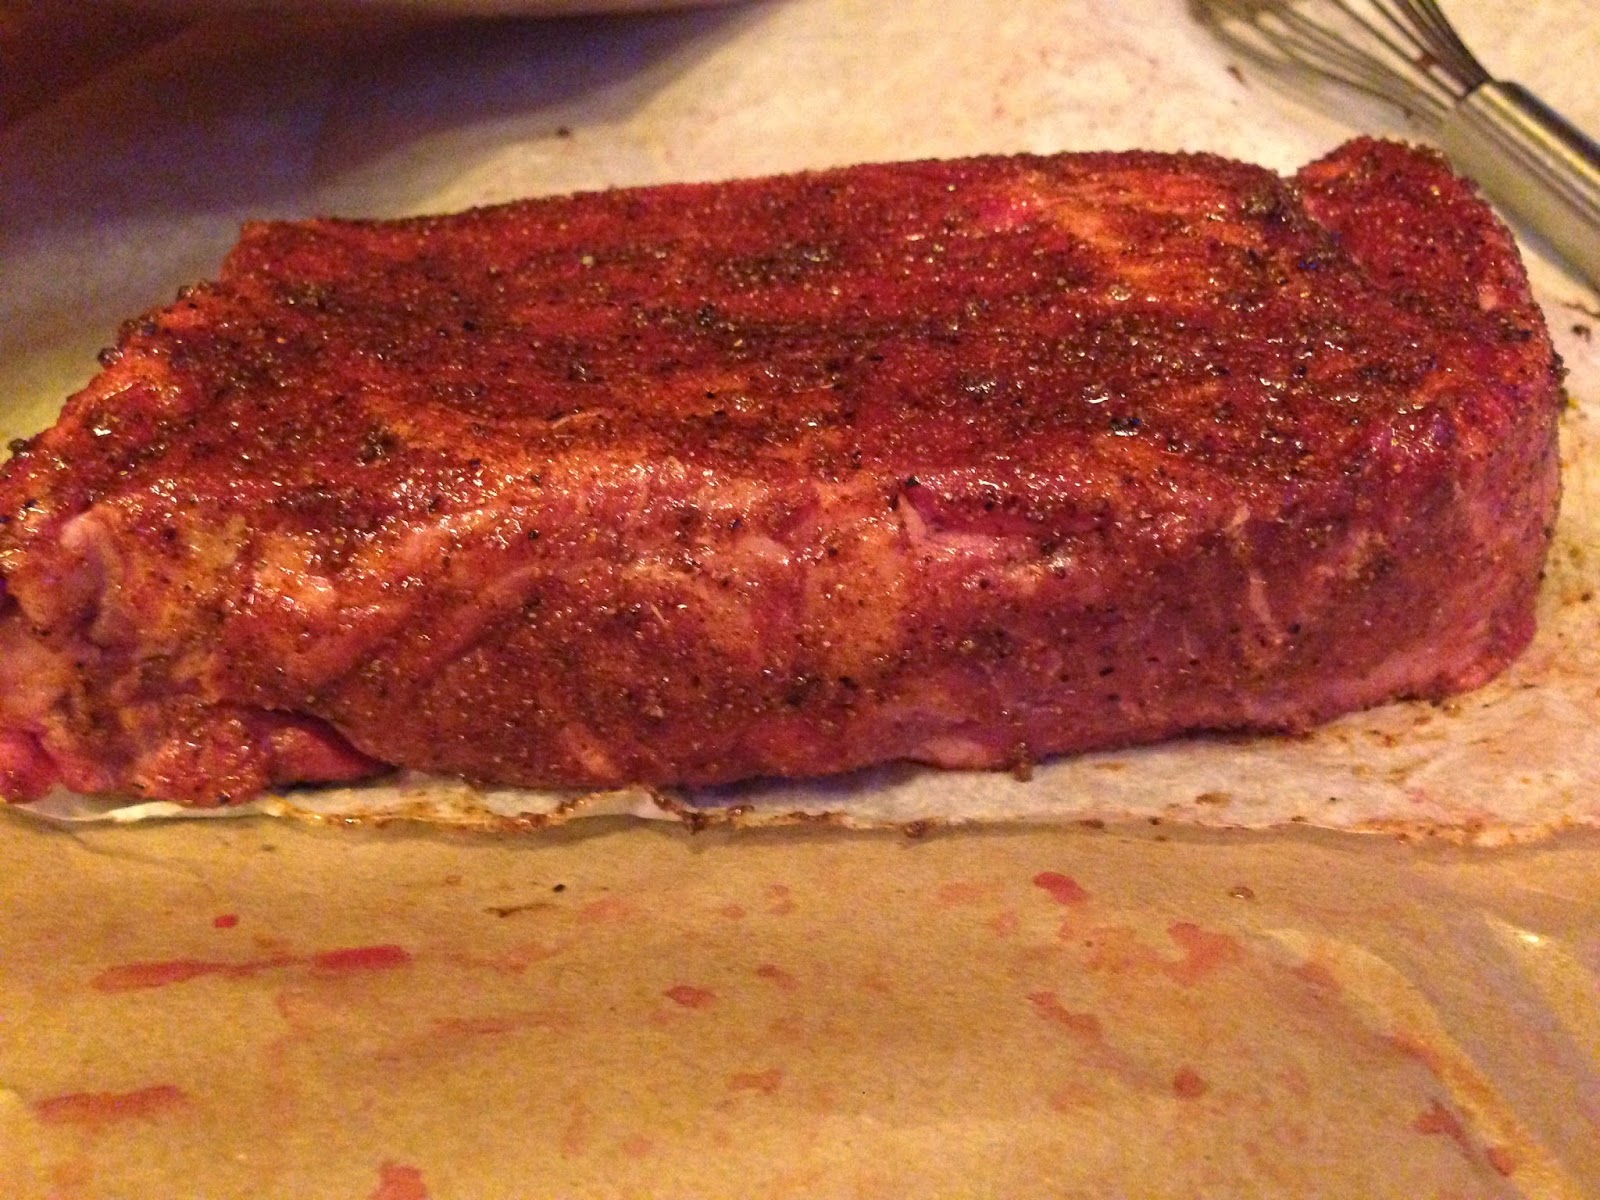
3. Using a strainer, so you evening distribute the spices, season the chicken skin up.


4. Turn over the chicken and season skin down.


5. Heat a sauté pan on top of the stove and add 1 TBS of coconut oil. When sizzling hot, place chicken thighs skin down in pan. Turn on the fan so the smoke has somewhere to go. Add more oil if needed.


6. Don't crowd the pan! Either sear them in batches or use two pans...


7. Flip them when the skin is perfectly crisp, about 5-7 minutes. 


8. Sear the other side for about 3 minutes and pop them in the oven for another 5-10 minutes.

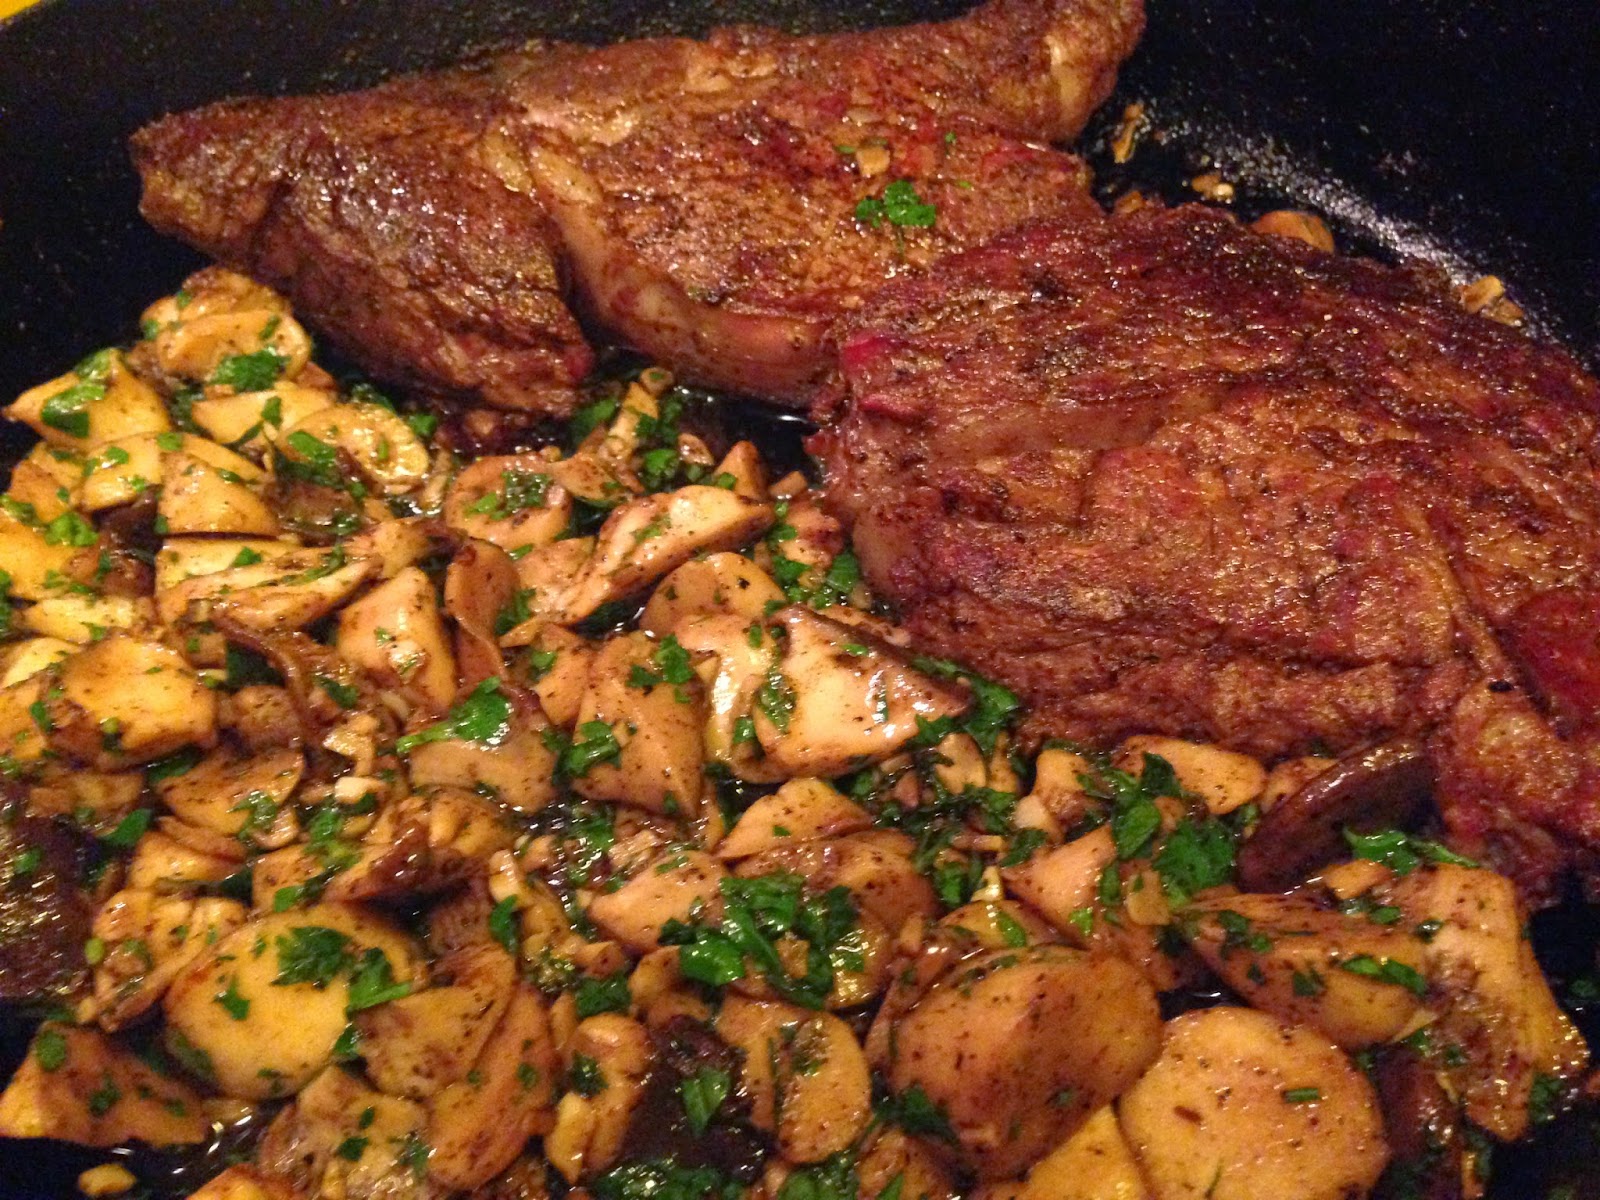
9. This time I served them on a bed spinach and with my famous beet, celery root and sweet potato puree...Whatever you do, don't forget to pour the drippings over the chicken...it's got so much flavor...If you have time, you can turn those amazing drippings into a sauce...I'll show you how next week...


Monday, September 29, 2014

Week #8 Whiteboard - Boulder Ladies Crossfit Program Completed

Congratulations Ladies!!!


Week #8 completed and although our program is officially over, the physical and mental strength you've gained will continue to grow whether you keep with Crossfit or not, as long as you nurture it by pushing yourself outside your comfort zone...


If you've signed-up as a Boulder Crossfit member or bought a 10 class punch card, I'm excited to continue our journey together. The 6am TUES, WEDS & THURS classes start this week. Check out the entire schedule on-line. You can also check-out the WOD before class.

If you've decided to pursue other goals, I hope you stay in touch...Either way, it's been a real honor coaching you...Thank you again for your dedication to the program and to yourself...

Hope to see you tomorrow or sometime soon...

Friday, September 26, 2014

Recipe - Jalapeño Pesto Spaghetti Squash...Whole30 Approved

Jalapeño Pesto Spaghetti Squash...

Last night I served this spaghetti squash with pan seared organic chicken thigh, one of my favorite proteins to cook and eat because it pretty inexpensive, yet has so much flavor (if cooked correctly) and is densely nutritious and satiety.

Anyhow, you can make this spaghetti squash with anything...meatballs, lamb, pork, steak, fish, shrimp, scallops. mushrooms, even a veggie medley...

The spaghetti squash I made, I actually picked from my garden...it was the first time I grew spaghetti squash successfully:-)


Ingredients
- 1 ripe Spaghetti Squash, cut in half & seeded
- Seasoning: salt, pepper, granulated garlic, granulated onion, chile powder, smoke paprika, ground ginger, cayenne, cinnamon 
- Coconut Oil Spray

Instructions
1. Pre-heat oven to 400 degrees.

2. Prepare the spaghetti squash... I think this is most challenging part of cooking this amazing vegetable which is one of the reasons I think many people stay away from it...

a. Cut the spaghetti in half, cutting off the stem, standing it stem side down and cutting it in half.


b. Seed the squash, using a spoon and reserving the seeds if you want to toast them.


c. Ensure insides are completely seeded.


3. In a container or bowl, mix all the spices together. 
So, the reason I didn't give you measurement of how much to of each to spice to is because I don't measure. I did however, give you the spices in order from most to least. I personally over the bottom of my container/bowl with salt, then add each spice on top of the salt, decreasing the amount of each little by little as I go. Then I mix it together and taste...if that is something I would season a steak with then I use it, if I taste too much of a spice I don't like I adjust...I just think measuring seasoning is a waste of time...


4. Spray squash with coconut oil spray and sprinkle with seasoning. Place in a cookie tray, halfway filled with water.


5. Place in oven for 40-50 minutes, until squash is al dente, so the strand of the squash pull apart like spaghetti, not like mush...Using a form, pull the squash away from the skin and place in a big bowl.


6. Break apart using hands if needed. 


7. Pour the pesto over the squash and mix to combine. See below for pesto recipe.


8. If reserving seeds, pull the seeds away from the flesh by squeezing or pulling them with your fingers. 


9. Rinse and dry them, patting them down with a towel.


10. Season them with the same seasoning place them in a cookie tray and bake with the squash, for 10-15 minutes. Use them as a garnish or eat them plain...delish:-)

Jalapeño Pesto Sauce
So this sauce is a little different than one I made last week...First I used just basil, no parsley, basil is expensive so when I can get a deal on it, I stock up and make pesto...Second, I used almonds, not macadamia nuts...Third I didn't use any pablanos...This one was just as delicious as the other one...use either one and you'd be good to go...But either way, make enough of both so you have leftovers...

Ingredients
- 4 packs Basil
- 1/2 cup Slivered Almonds
- 6 Cloves of Garlic
- 1/2 TSP Fresh Ginger, grated
- 1 Jalapeño, seeded if you don't want it too hot
- 1/2 cup red wine vinegar
- 1 Lemon, juiced
- 1 Lime, juiced
- Olive oil
- Salt & Peper to Taste

Instructions
1. Roughly stem the basil. Place in the food processor and pulse.


2. Add nuts, garlic, jalapeño, ginger and pulse. On high, drizzle in the vinegar, lemon & lime juice. Then gradually drizzle in the oil until to the consistency you like. Add salt and pepper to taste.


3. Refrigerate the rest, good for at least 7 days. If you have a lot left over, freeze.


Perfectly cooked chicken thighs recipe next week...easy weeknight dinner that is soooooooo deliciously nutritious.....

Wednesday, September 24, 2014

Got Meat...Yeah, Ribeye Steak, the best cut ever!!!

Ribeye Steak with Garlic Mushrooms
A quick, easy and absolutely delicious meal anytime... 


The Rib Eye cut is one of my favorite pieces of meat because it's not only a little marbly (aka fatty, good fat), which gives it great texture and flavor, it's densely nutritious and satiating, especially if you buy grass fed & finished meat. The rib eye is the center piece of the rib, if it had a rib attached to it it might be called 'cowboy ribeye' or 'cowboy cut', which in my opinion is even better since a bone attached to a piece of meat (pork, chicken, beef, elf, bison, lamb, etc) usually has better flavor and is more forgiving if you accidentally overcook it...Plus, there is something gratifying about gnawing on bone at the end of meal, especially if you are paleo...HA!HA!

Although expensive ($17.99/lb) this piece a of meat (about 1 lb) equaled about 2 1/2 meals for me, (dinner - light breakfast - lunch)...It's because of the cut, it's thick, dense and has some fat...If you don't want to splurge for Rib Eye, that's OK...you can use other searing cuts of meat for this recipe...i.e. sirloin, flank, hanger, etc...  


So the technique I'm going to introduce to you to in this blog post is 'pasting the protein'. A paste for a protein is similar to marinade, but it has more seasoning instead of liquid which makes the 'marinade' denser and thicker to apply to the protein than a marinade. Plus, a marinade you usually have to soak for at least a few hours and sometimes overnight in order for it to absorb the flavors. A paste can be applied right before cooking which helps create a 'crust' on the protein and also helps insulate the meat keeping the juices inside and protecting it from overcooking.

Steak Ingredients
- 3/4 - 1 lb per person
- Paste per piece of steak:
- 1 TBS salt
- 1 TBS pepper
- 2 tsp granulated garlic
- 2 tsp smoked paprika
- 1 tsp chipotle
- 1 tsp curry
- tsp granulated onion 
- 2 tbs olive oil, just enough to create a paste

Instructions:
1. Preheat oven to 300 degrees

2. Place all paste spices in a bowl. Add oil and whisk again to combine. The mixture should be thick and dense.


3. Brush the paste on the all sides of the meat.


 Don't forget the sides...


4. Sear all sides of the meat. 


Keep searing until golden brown.


5. Place in oven to finish the cooking process. Reserve everything in pan for the sauce.


Mushroom & Garlic Sauce

Ingredients
- 6 Garlic Cloves, chopped
- 1/2 cup Red Wine Vinegar
- 2 TBS Coconut Oil
- Trumpet Mushrooms (aka King Oyster Mushrooms), chopped on a bias, see picture below
- Garnish: Parsley, chopped
- Salt and Pepper to Taste

Below are what Trumpet mushrooms look like. I love these because they are hearty and don't shrink too much like other mushrooms. They pair really well with steak, but if you can't find trumpets you can use any type of mushrooms (i.e. shiitake, oysters, portobellos, cinnamon cap, etc). Remember, don't rinse the mushrooms, wipe them with towel to clean. Also, don't salt until after cooking or it releases water and becomes soggy...nobody like soggy shrooms...


See below to see how to chop mushrooms on bias, aka at an angle.


1. While the steak is cooking, add garlic to the pan and coat with reserves in the pan. 

2. Deglaze by adding red vinegar. The alcohol in the vinegar helps cleans the pan while extracting all the fond from the bottom of the pan. Fond is the fabulous flavor left behind from searing the steak. Many people throw it away, don't be that person. It's like throwing away the bacon dippings and its free.


3. Use a whisk in order to get all the fabulous fond from the bottom and the corners of pan. Turn heat to low and simmer for 5-7 minutes. It will reduce and thicken slightly.


Note, the pan has to be really hot, so hot a steam of smoke will float up - FREE FACIAL!!! The heat will help the extraction and will burn off the alcohol. You can really use any type of alcohol in your cupboard, but I wouldn't use your good stuff.


3. Mix in 1 TBS of coconut oil to the pan. 

4. Add mushrooms to the pan. Increase heat to medium.


5. Add another TBS of coconut oil to pan and sauté mushrooms until softened, about 3-5 minutes.


6. Turn of heat and garnish with parsley.


7. Add steak back to the pan and serve.


Afternoon a weightlifting day, there is nothing I like better than a Ribeye with garlic mushrooms...


Anybody going to make this meal....

Monday, September 22, 2014

Week #7 Completed...What's Next...???

Week #7 Completed!!!


WOW, week #7's whiteboard...doesn't look white, does it??? 

As we begin week #8 I have to confess, I didn't really know if I would see any changes in you in just 8 weeks. But I can truly say I've seen a ton of changes...in your form, your mental toughness, your physique, your competitiveness, your desire for knowledge, your encouragement with each other, your dedication to the program and to yourself to be stronger...

What we've built is COMMUNITY & ACCOUNTABILITY which is something I haven't had, but longed for, since I played team sports...When you have a sense of community and accountability you automatically are committed and dedicated...I see that sense in all of you, and to me, so I sincerely THANK YOU!)

Although some of you won't be continuing with Crossfit, I know taking this journey has built inner strength and confidence in each and every one of you, I can see it in your eyes and I hope you can feel in your being...See photos below...

What's Next...

First, thanks to all of you who gave me feedback on what you'd like to see happen next...And for those of you interested in continuing, my apologies for keeping you in suspense...Please note that all your feedback was taken into account as we decided on the schedule...

I am so excited that many of you want to become members of Boulder Crossfit, which means I not only will continue to coach you, I can also workout with you:-)))

In order to accommodate the early risers of our group, we will be permanently adding a Tues, Weds & Thurs 6am class to our weekly schedule. The Tues and Thurs 6am classes will follow Boulder Crossfit programming. The Weds 6am class will be an Olympic Weightlifting class. These 3 additional classes will be taught by Jon and myself. As a member of Boulder Crossfit, you can attend as many classes and open gyms at any time (unlimited). 

Links below for more info:

Let me know if you have any questions...


Sunday, September 21, 2014

One Pot Wonders - Garam Masala Brisket

Sunday is my Fun-day in my kitchen and in order for me to prepare everything I need for the week, I start off preparing a 'One Pot Wonder' to either eat that night or the next, the key is to make enough so you have leftovers and to be creative with your leftovers so your not just eating the same thing meal after meal...Re-Create 'One Pot Wonders' into something unique and different...restaurants do this all the time, why do you think they have daily 'Specials'...

Make this Garam Masala Brisket and Re-Create into steak & eggs or brisket wrapped asparagus or brisket egg muffins or brisket taquitos (not Whole30 approved) or serve it with an egg top (which will totally change the entire dish - In my opinion, anything served with a fired egg on-top 'usually' elevates a dish to another level)...


Garam Masala Brisket


Ingredients
- 3 lbs Brisket (grass-fed & finished, if available)
- Garam Masala Brine: water, salt, peppercorns, turmeric, cloves, cinnamon, cardamom pods, cumin seeds, sugar
- 1/4 cup Ground Garam Masala Seasoning
- Salt & Pepper
- Coconut Oil or Ghee
- 1 Yellow Onion, chopped
- 5 cloves garlic
- 2 Jalapeños, chopped (seeded if don't like too much heat)
- 4 Carrots, chopped
- 2 Sweet Potatoes, chopped
- 1 Bunch Celery, chopped

Instructions
1. Brine the brisket overnight. Brisket is a very muscular piece and brining helps make the tougher pieces juicers. That said, soak the meat overnight in the above mentioned Garam Masala spices and completely cover with water.


2. After brining, discard the water and spices, pat down the meat until completely dry.


3. Pre-heat oven to 275 degrees.

4. Season the meat. I personally like salting the meat first to ensure it gets salts correctly. Then I pepper the meat. Then I cover the meat in seasoning, in this case Garam Masala seasoning which is a mixture of turmeric, cinnamon, cardamom, and cumin.


5. Heat the coconut oil or ghee in a skillet or dutch oven and sear both sides. This step is very important because it helps lock in the flavors and juices of the meat.


6. Remove the meat and sauté vegetables. If you are using different pans, make sure and deglaze (add some vinegar and whisk the fond, the brown pieces, at the bottom) the pan you seared the meat and add those juices to the veggies.


7. Add the meat to the veggies and add water or homemade stock to the pot. You want to add enough liquid so the meat is covered about halfway.


8. Bring to a boil and place in the over to braise for 4-5 hours. Take out of oven and let sit on counter for another hour with lid on.


9. Remove the meat and slice to your thickness preference. Note I only slice the meat I want to eat at the meal because when I re-create meals I usually want the meat sliced differently.