Tuesday, November 4, 2014

Pork Green Chile - A Comfy Winter Favorite

About this time we usually throw a chile cook-off and I usually throw people out of my house if I don't win...Just joking or am I:-)

Chile is one of favorite meals to cook & eat because there are so many variations and ingredients you can use in chiles. I've made so many different kinds of chile in my life, but I must say my absolute favorite is my pork green chile. If you have the time I recommend slow cooking a 4-5 lb pork shoulder (aka bone-in butt) until is is fall off the bone tender, but today I didn't have the time so I used pork stew meat instead. Pork stew meat is usually meat from the shoulder already cut up into pieces so it doesn't take as long to cook.

Ingredients
- 3 to 4 lbs Pork Stew Meet
- Seasoning: Salt, Pepper, Granulated Garlic, Granulated Onion, Chile Powder, Smoked Paprika, Dash of Nutmeg
- Cooking Fat: Coconut Oil, Ghee or Bacon Fat
- 1 Onion, Chopped
- 4 Pablanos Peppers, seeded & chopped
- 6 Anaheim Peppers, seeded & chopped
- 4 Jalapeños, seeded (only if you don't like it hot) & chopped
- 12 Fresh Tomatillos or 1 12 oz can, drained
- 1 cup Cherry Tomatoes
- 1 qt Beef Stock (homemade or low sodium organic from the store)
Homemade beef stock, how can I make that and why would I want to?
- 1 (25 oz) can Hominy, drained and rinsed
What's hominy and where can I get that?
Hominy is a dried corn that has been soaked in minerals which loosens the hulls, softens the kernels and causes the kernels to double in size and sprout making it more digestive then regular corn. Bottom line, if we didn't have hominy, you wouldn't have corn tortillas.  
- 1 Celery Root, peeled & chopped
What's Celery Root, how do you chop it and why use it in this recipe...???!!!
To keep this recipe paleo and gluten-free, I'm using celery root to help thicken the chile while giving it a slightly tangy flavor. 
- OPTIONAL 1 Butternut Squash, Baked and chopped
How do you bake and chop a butternut squash...???!!!
Don't worry, I got you covered again, click here to learn about butternut...You can make the squash ahead of time and reheat as stated below, or you can bake the squash as you make your chile or you don't even have to use it, but I think it adds great texture and a unforgettable delicate sweetness to this dish...

Garnish Options:
- Avocado, seeded & chopped
- Cojito Cheese
- Cilantro, crumbled
- Fresno Peppers, thinly sliced
- Chips
- Toasted Butternut Squash seeds, click here to see how to prepare


1. Put the stew meat in a bowl, pat dry and break apart if stuck together.


2. Place seasonings in a container and season the meat thoroughly. The seasoning will turn into fond which will be the foundation of flavor for your chile...So season well!


3. Heat a large pot on high on the stove (I'm using my wonderful dutch oven.)  Coat bottom of pot generously with cooking fat. Make sure oil is hot enough before adding meat by testing a piece of meat, if it sizzles you know it's hot enough, if it doesn't you need to wait. Add the rest of the meat to the pot and brown by stirring occasionally.


4. Take meat out of pot and reserve. (I use the lid of my dutch oven to reserve the meat.) Tent with foil to keep juices inside (this is important if you want to keep the meat juicy and tender) 


5. Reduce heat to medium. Add the onions and garlic to the pot and coat with reserved leftovers from browning the meat. Add more fat to pot and stir until onions are translucent. Mix in peppers and add a little salt, cook for another 2 minutes until the peppers start wilting a little. Add in tomatillos, tomatoes, and celery root and sauté. If it appears dry, add more cooking fat, veggies should be well coated.


6. Scrape the bottom of the pot as you sauté the veggies...Remember, that's where the flavorful fond is...  


7. Gradually add stock and whisk to incorporate all the brown bits (fond) into the liquid which will eventually dissolve creating great flavors.


8. Add enough water to cover the veggies. They should be floating at the top. Bring to boil, turn down and simmer for 30-45 minutes until the tomatoes burst their juices and the celery root is tender.


9. Puree in a blender or food processor. (I'm soooooo exited, I just got my very own Vitamix!!!)


10. Place the pureed green chile back into the pot, add hominy and reserved pork. Bring back up to a boil and then back down to a simmer for another 15-20 minutes. 

11. If serving with butternut squash and needs reheating, preheat oven to 325 degrees. Chop squash into 1/4 in pieces and remove the skin. Place a baking dish and reheat for 10 minutes.


12. Place in a separate bowl. 


13. To plate, spoon a ladle of chile in a bowl, add some butternut squash. Add another ladle or two chile. Put an assembling line the above mentioned garnishes and go to town.


Any garnishes I'm missing...
Eat is for breakfast with a fried egg on top...
Or for lunch on top of a bed of spinach...
Or as a snack with a sprinkling of bacon bits for cruch...

Wednesday, October 29, 2014

Celery Root...Learn How to Cut and Cook this Scary Knob...

Celery root...
What's that???
What does it taste like??? 
Why would I cook it???
How do I cook it???


Celery root is not the root of celery you usually buy, it's slightly different. The green stalks are more bitter and pungent. I'd use them for stocks, braising and pesto-like sauces. The actual celery root has a starchy consistency and tastes like a combination of jicama, rutabaga and daikon. Because of it's starchy consistency it gives creaminess purees, crunchiness in slaws, tenderness to braises and crispiness to fried goodness.  

The real question is how to cut it... 

Just like the butternut squash, this ingredient can be intimidating because it looks scary...'how the F(&(*^&^ do you get inside'...


Just like the butternut squash, we need to make it cuttable (stable to cut the 'thing' instead of your figure)...

Start by cutting one end.

 Cut the other end.

 Stand it up so it's stable. Take your knife and peel the skin.


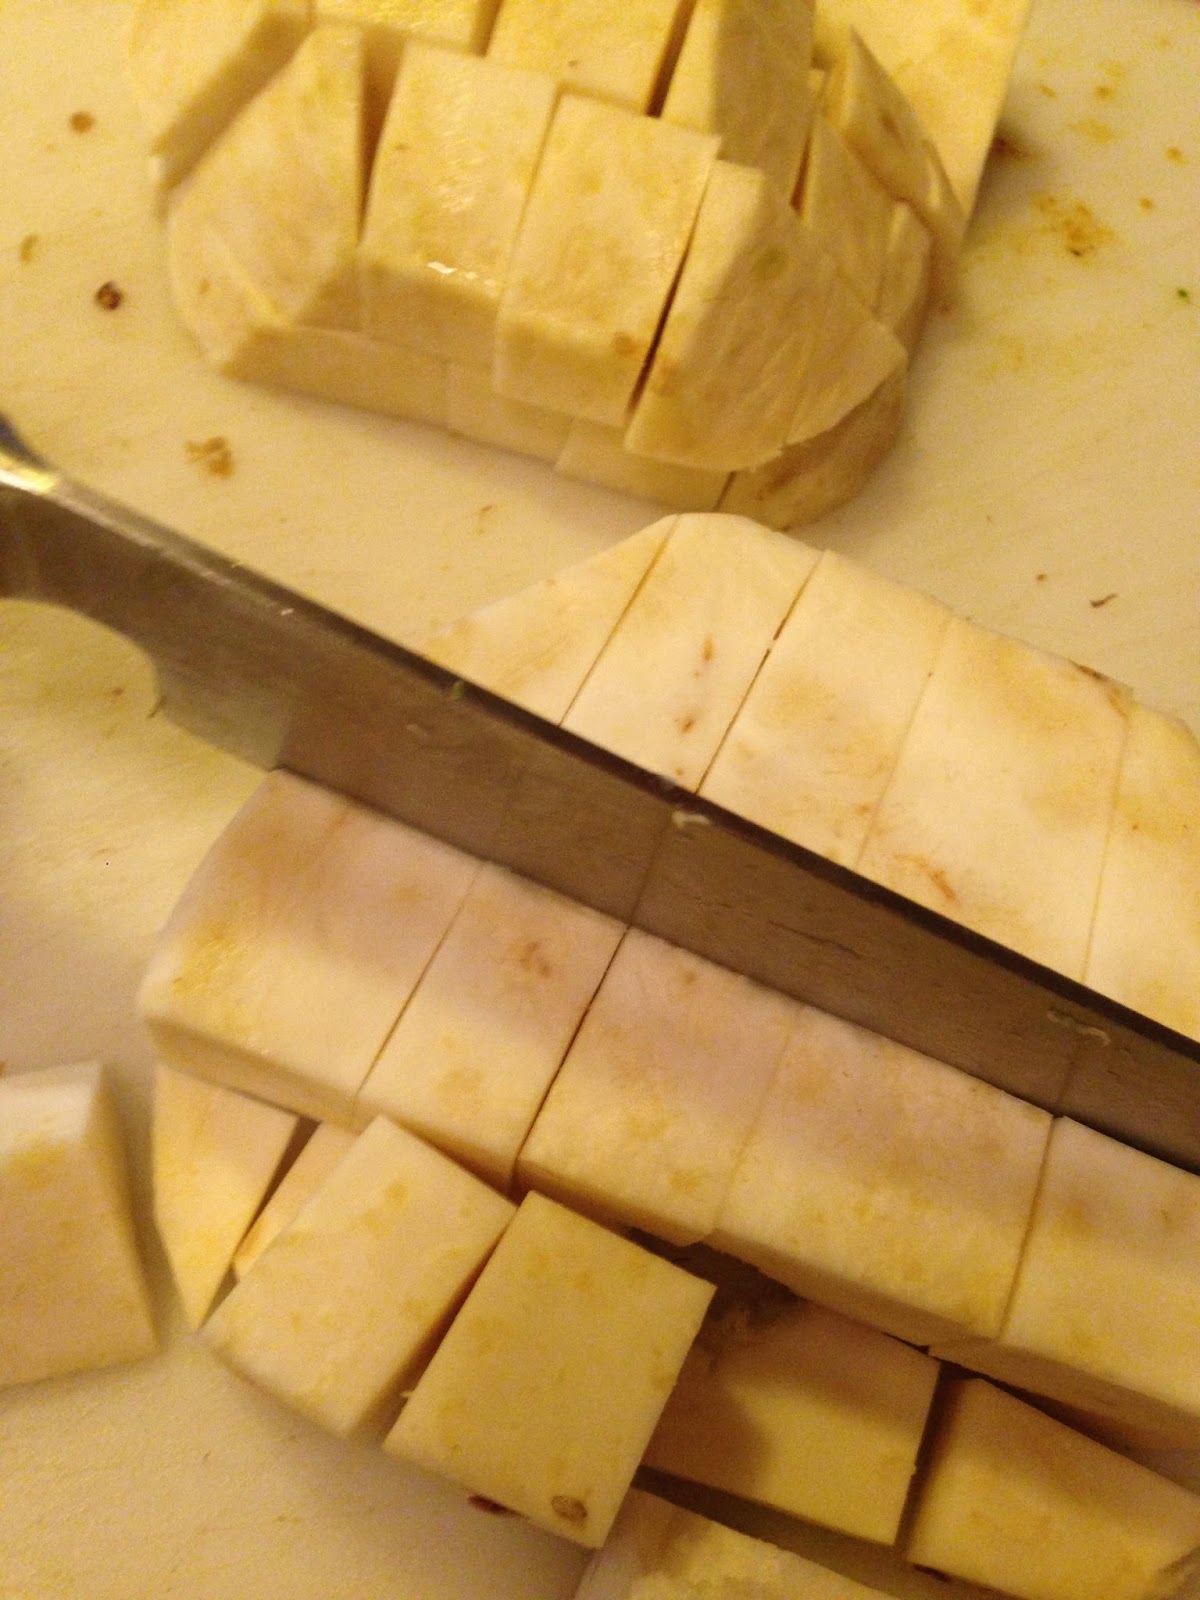
Slice down the middle, 1/4 inch between slices.


Stack a couple of slices on top of each other. Cut lengthwise and then across, making cubes. If you want to make celery root fries, just cut lengthwise so they are long and tender.


I used this celery root in my famous pork green chile with hominy and butternut squash... 


But there are so many other uses for this ridiculous root...
1. Celery french fries
2. Celery root puree
3. Celery root soup
4. Celery in homemade stock
5. Celery root slaw
6. Celery mash potatoes
7. Celery root hash
8. (Celery) Root Cakes

I can go on...do you have any ideas...

Butternut Squash...Learn How to Cut & Cook This Awkward Bundle of JOY...

Don't be intimated by butternut squash! The most challenging thing is cutting it up, but if you know the right steps and have to a sharp knife, you should be good to go.


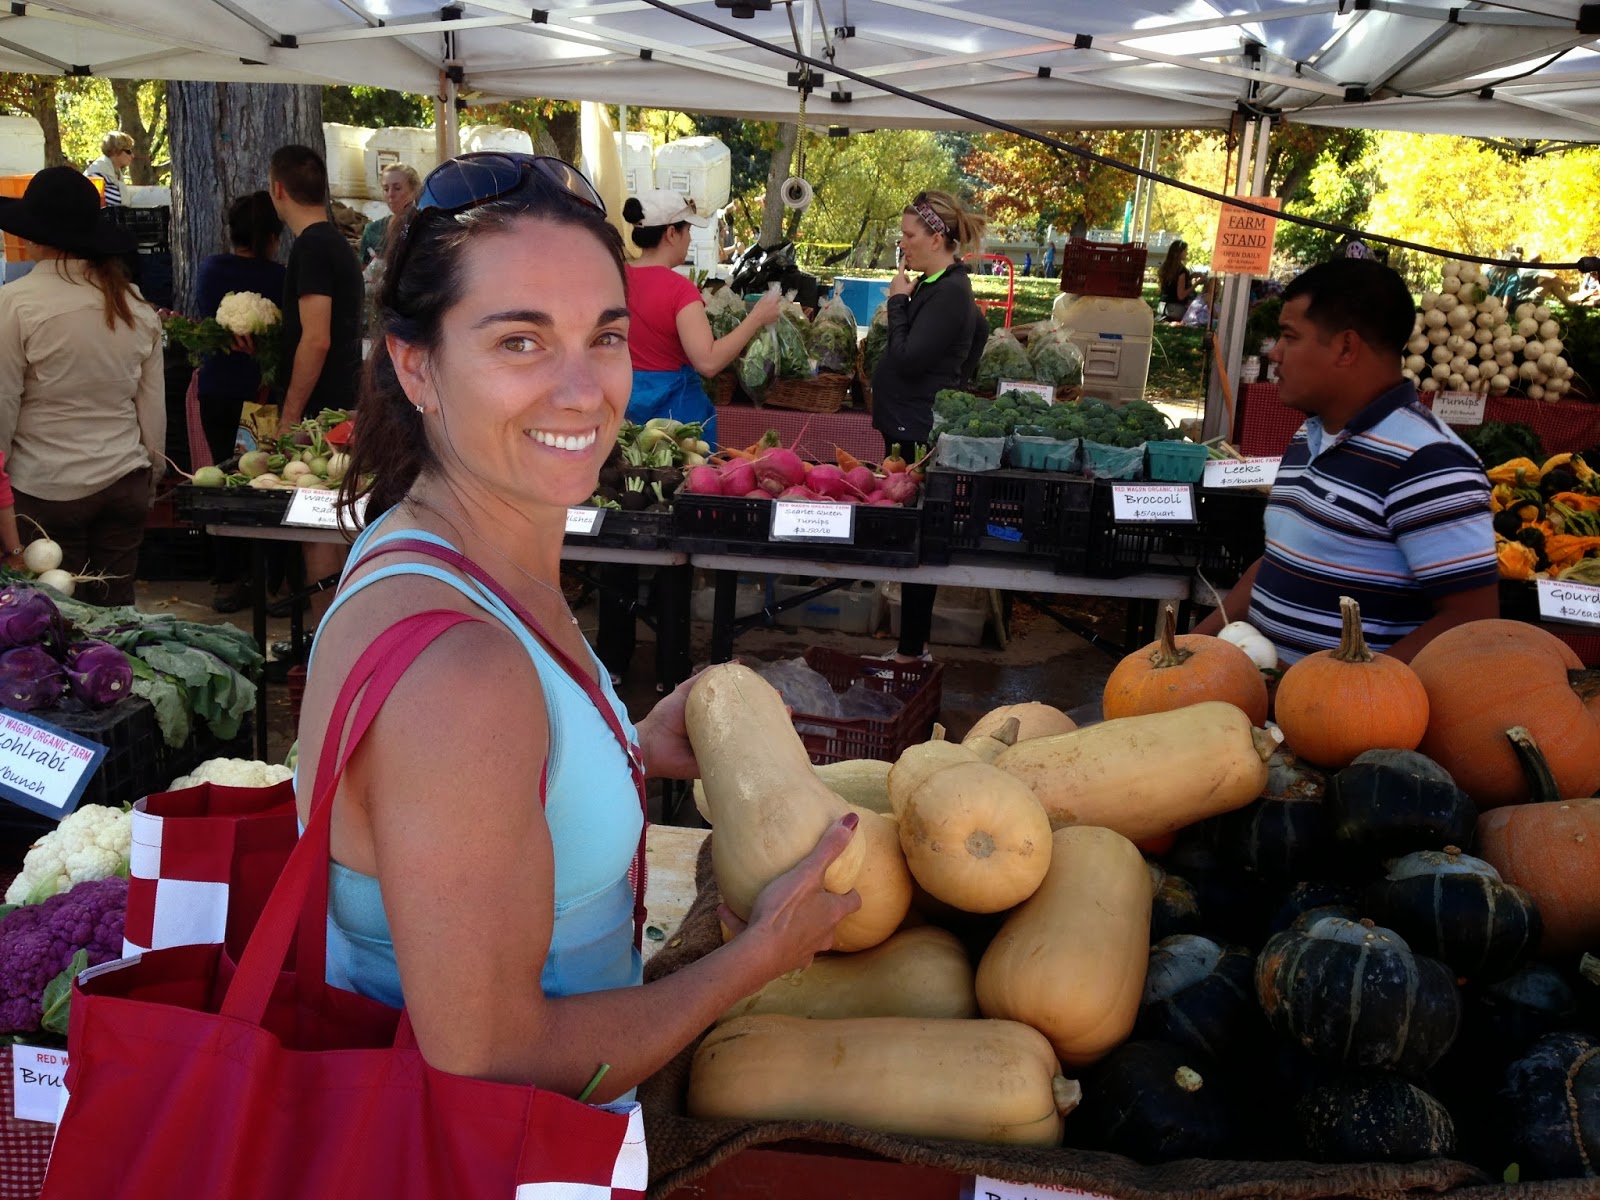
Although butternut squash is available all year round it's really a fall/winter squash. Look for one with a big neck and small bulb; it'll yield the most meat. It should have a pale orange color and should feel heavy for its size.


To cut, place it on its size.


Cut the stem end off.


Cut the bottom off.

Cutting off both ends makes it stable to stand it up and cut through the middle.


You seed it now and bake it, but I want to cook it a little faster so I cut it into quarters. 


Flip it upside down, making it more stable, and cut through center. 


Seed the squash. 

You can reserve the seeds, rinse, dry, season and bake them if you'd like. They are a great snack or garnish.  


Bake at 350 degrees, 5-7 min.


Spray butternut squash with (coconut) oil. 


Season with salt, pepper, chile powder, curry powder a touch of cinnamon and nutmeg.


Bake at 350 degrees for 30-40 minutes. Add a little water at the bottom of the baking sheet to help steam the squash and not burn the skin.


Enjoy!!!

There are other numerous ways to enjoy this fabulous fall squash...
1. Top with some ground meat and sautéed peppers
2. Cut into pieces and add to my famous Green Chile, click HERE for recipe
3. Puree into a butternut squash mash and garnish with seeds & bacon bits
4. Make into butternut squash soup
5. Puree and use to fill raviolis
6. Make into butternut squash cakes
7. Use as a filling in enchiladas

Anybody else have other ideas...???

Tuesday, October 28, 2014

Homemade Jerky - Primal Eats

If you have dehydrator and you haven't made homemade jerky, you need to. If you don't have a dehydrator you should consider investing in one. It's a great way to make lots of different kinds of homemade snacks...dried fruits, dried veggies, roll-ups, meats, etc...

Homemade jerky is my favorite primal eats...My husband & I actually started a jerky company right after college because we did so many road trips and ate so much jerky we thought it would save and earn us money if we made our own....It was called Trekkin' Jerky...Although the company doesn't exist anymore, it doesn't stop me from making it...

I pride myself as being a jerky connoisseur and refuse to buy bad stuff, although I will try new brands as long as they use quality ingredients...Many brands on the market are loaded with MSG, artificial flavors, sodium and made with conventional meats...Also, hard to find the right texture, dryness or thickness...For a product that is relatively expensive you'd think there would be better options on the market, so since there aren't I just make my own...

If you are really particular about thickness, you should get a automatic slicer...They are not that expensive, will save you time, produce consistent slices and makes it very easy to slice not just meat but fruits and veggies...

Ingredients
- Top Round Beef, Grassfed & Finished: I usually buy at least 8-10 lbs, but buy as much as you want...remember, you will yield about 60% of the total you start with...
- Seasoning or Marinade: I usually do a dry rub of salt, pepper, cumin, paprika, cayenne, turmeric, coriander...But you can really use whatever you want...If you are using a wet marinade you should let if marinade overnight...

Instructions
1. Trim the fat, if needed. 

2. Then cut the big piece of meat into 4-6 smaller pieces so it's easier to cut on my slicer. 


3. Place meat in freeze, frozen meat is easier to slice. If you don't have a slicer you want to partially freeze mea and cut by hand.

4. Slice or cut the frozen meat.


5. If marinading, marinade sliced meat overnight. If using a dry a rub, place the meat on the dehydrator.


6. Season with a strainer so it is coated evenly.


7. Set the timer and temperature according to your dehydrator. I set mine at 160 for about 3 hours.


8. Enjoy! 
Remember, this is fresh-homemade jerky without any preservatives so if you don't eat it within 10-14 days you might want to vacuum seal it or refrigerate it...


Monday, October 20, 2014

Now Casting - Next Food Network Star Season 11

If you know me then you know I love to cook, coach and sell. You also probably know I've been trying out for the Next Food Network Star for the past 6 or 7 years; it's been so long I can't keep track any more. The finalists of the NFNS compete for their own cooking show. To become a finalist you first need a creative and unique cooking perspective. 

My cooking perspective has definitely evolved with my lifestyle and current health trends. Growing up in the 80's made me fat-phobic. The major message back then was - Fat made you fat, so don't eat anything with fat or else you will be fat. The grocery aisles were filled with fat-free, sugar-filled, processed products which is what I ate. Highly additive foods that were not at all satiating or nutritious, but were fat-free...

Although an athlete throughout high school and college I didn't understand the connection between performance and diet. 'You are what you eat.' How many times have you heard that before. Well, there is a difference between hearing it and actually living it...and I was not living it until... 

About 2 years ago I found Crossfit and was introduced to the Paleo community, which has helped change my fat-phobic mentality. Eating (good quality) fat will not make you fat. I've been in the natural foods industry for over 10 years, a fitness coach for over 15 years and a trained chef for 6. I thought I was living a healthy lifestyle, but now I know I was duped...

I'm not 100% Paleo ..I like to say 'I'm 100% Paleo 80% of the time'. It's my 80-20 rule:-) 

I like food way too much to deprive myself, but I know I perform better eating Paleo. 

When I was first introduced to paleo I was turned off by it. WHAT!?!? I can't cook or consume any bread, beans, soy, peanuts, dairy, pasta, etc...!!! I'm a trained chef, how could I cook without those ingredients...??? I love to eat, why would I restrict myself from those tasty foods...??? 

NO-WAY, NO-HOW.!.!.!

It took awhile to warm up to a Paleo Lifestyle. I started with baby steps and reluctantly eliminated some foods from my diet and started paying attention to how much better I felt. I think the major reason why I was so stubborn about going Paleo was because I was more focused on what I had to eliminate instead what I was going to gain. As soon as I shifted my negative thoughts to positive ones, I started seeing and feeling differences in my mind and body. 


Anyhow, the reason for this post is to get some feedback. I will be auditioning for the Next Food Network Star again and want to incorporate my Paleo-ish lifestyle into my culinary point of view, but I believe words like 'Paleo' or 'Primal' might turn people off...What do you think?

My tagline for this show is Real Food.Quality Ingredients.

BUT I need a show title that reflects my culinary point of view while relating to the masses...

Below is a list of show titles, which one resonates with the most...

- Partially Paleo
- Paleo Kitchen
- Primal Cooking
- Primal Eats
- Real Food Cooking
- The Cavegirl Cook
- Cave Crave
- Cavegirl's Kitchen
- Karen's Cave or Karen's Kave
- Lifestyle Cook 
     
Or if you have other ideas, shout them out...All feedback is welcomed...THANKS!!!

Sunday, October 12, 2014

Another One Pot Wonder - Short Ribs with Veggie-licious Puree

The difference between Rib Eye Steaks and Short Ribs...


As you can see from the image above, Rib Eye Steaks are taken from the top of the cow and Short Ribs are taken from the short plate of the cow which is at the bottom portion. Every part of the cow require different cooking techniques. Ribeye Steaks can be grilled, seared, baked. Usually a more expensive piece of meat, Ribeye Steaks are really easy and quick to cook. CLICK HERE for a delicious Ribeye Steak Recipe.
Short Ribs on the other hand, take longer to cook because there is more connective tissue that needs to be broken down which means a low and slow cooking technique like braising. This is why this recipe is another one of my One Pot Wonders.


Ingredients
- 2.5 lbs Short Ribs, preferably grassfed & finished
- 1 large yellow onion, roughly chopped
- 6 garlic cloves
- 1 jalapeño, chopped (seeded if you don't want too much heat)
- 5 carrots, roughly chopped
- 1 bunch celery, roughly chopped
- 2 medium sweet potatoes, roughly chopped
- 1 large red beet, roughly chopped
- 1 celery root, roughly chopped
- 4 tomatoes, roughly chopped
- 2 cups white wine vinegar
- 6 cups stock or water, warm
- 2 TBS tomato paste
- 2 TBS Coconut Oil
- Seasoning: Salt, pepper, garlic powder, onion powder, garam masala, cayenne, turmeric, tarragon


Instructions
1. Pre-heat oven to 425 degrees.

2. Place all seasonings in a bowl. I like to layer the spices in order of most used to least used, starting with the salt as being most used in this case.


2. Completely cover the short ribs with seasoning.


3. Heat pot on high. Add coconut oil and move it around so the bottom is completely coated. Place short ribs in pot.
  

4. Sear all sides of short ribs and remove from pot. 


Note: A dark film will form when searing. This is called fond and is full of flavor...I'm very FOND of the FOND...


6. Add the veggies to the pot and stir, using the fond to coat them. 


7. Mix in the tomato paste. Push all the veggies over to one side, making room for deglazing the fond.


8. Add vinegar and stir the veggies.


9. Add the warm stock or water.


10. Whisk the bottom and all the sides incorporating all the 'FOND' flavor, HA!HA!


11. Place the short ribs back into the pot to braise. The liquid should cover the meat about 3/4 from the top. Bring the liquid to boil and cover. 


12. Place in the oven. As you can see I'm serving with spaghetti squash. The sauce from this recipe is remarkably hearty and pairs great with spaghetti squash.


13. After 30 minutes decrease oven temperature to 275 degrees and cook for 4-5 hours. Flip meat over to the other side after cooking for 3 hours. Much of the liquid will evaporate so add more if needed. 


14. After fork tender, remove meat from pot, cover with foil and reserve.


Get ready, we are about to make magic by transforming the leftover juices and braised veggies into a Veggie-licious hearty sauce...


15. With a slotted spoon scoop the veggies out of the pot and place them in a food processor. Reserve the liquid. 


16. Gradually add the reserved liquid as the veggies puree.


 17. The puree should be slightly thick and very smooth, similar to the consistency of pancake batter.


18. Place the puree back into the pot. Add the short ribs and coat with puree. Put back into the oven  and cook at 275 degrees for another 1 hour.


ENJOY!!!!